How to Document a Historic Tower Clock: A Step-by-Step Photo and Measurement Guide
The best moment to record a tower clock is not when the clockmaker has already taken the movement apart. It is now: on an ordinary Tuesday, with the clock ticking, the dust undisturbed and nothing yet lost. A careful photographic and measured record made in a single afternoon will serve an owner, a conservator and a local historian for decades, and it costs little more than patience, a tape measure and a decent torch.
Start With the Building, Not the Movement
A tower clock is not an object in a museum case. It is part of a structure, and much of what you need to understand sits outside the clock room: the dial on the church face, the bell frame above, the route of the rods and wires, the winding path up the stair.
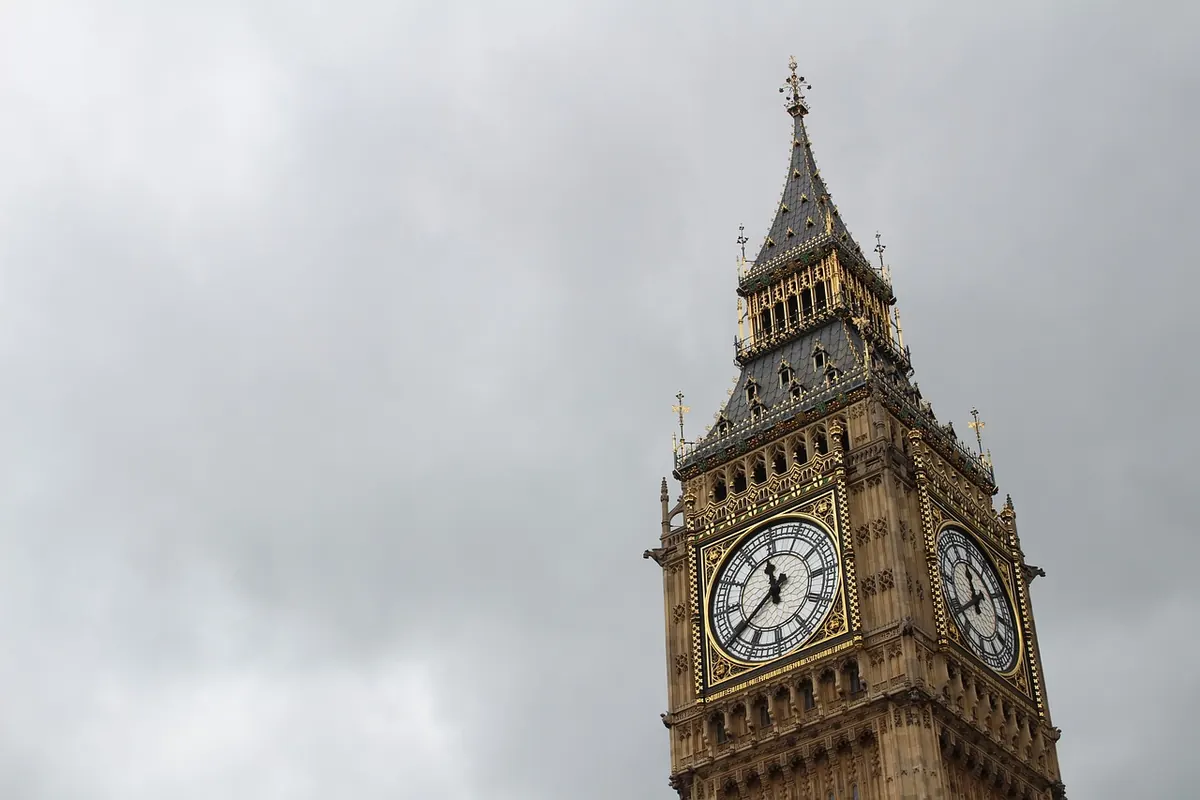
Walk the outside first, ideally with binoculars, and photograph the dial from ground level before you climb. Note which face you are looking at, the height of the dial centre above the ground, and the position of the hands at the moment of the photograph.
Inside, before touching anything, stand still for a minute and listen. Note whether the clock is running, whether it strikes, and whether the bells are rung by rope, by motor or not at all. Establish permission and access in writing where possible, and never work alone in a tower: ladders, trapdoors and falling weights are unforgiving. Tell someone outside where you are and when you expect to be down.
Ask for the paperwork before you form your own view — faculty records, old invoices, the clockmaker's brass plate, notes left on a shelf. Scan or photograph these too. They often explain the odd bracket or the redundant hole that would otherwise take hours to interpret.
Pack Light, Pack Precisely
Everything below fits in one shoulder bag and covers most situations:
- A camera with manual controls and a lens that focuses close. A modern phone is workable if you can lock exposure and focus, but bring a small tripod.
- A head torch, plus a separate hand light for raking across surfaces.
- A five-metre steel tape, a 300 mm steel rule, dividers and, if you have them, vernier calipers.
- A scale card: white card marked with clear 10 mm divisions, and a coin or pencil for an instant size reference.
- Graph paper, a pencil and a fine permanent marker.
- Low-tack masking tape and paper labels for identifying parts without marking ironwork.
- Nitrile gloves, a notebook for written notes and sketches, and a phone for voice memos.
Leave the oil can at home. Nothing in this process requires you to clean, lubricate or adjust anything.
Photograph From Wide to Tight
Work in a fixed order so nothing is missed, and speak the filename aloud as you take each shot if you are alone. A short voice note at the end of each sequence saves hours later.
- Approach shots: the tower from the churchyard, the stair, the door, the clock room entire from each corner.
- The installation: the movement on its frame, the weights or winding drum, the rod run to the dial, the bell and its hammer.
- Elevations: front, back, left and right of the movement, square to the frame, filling the frame.
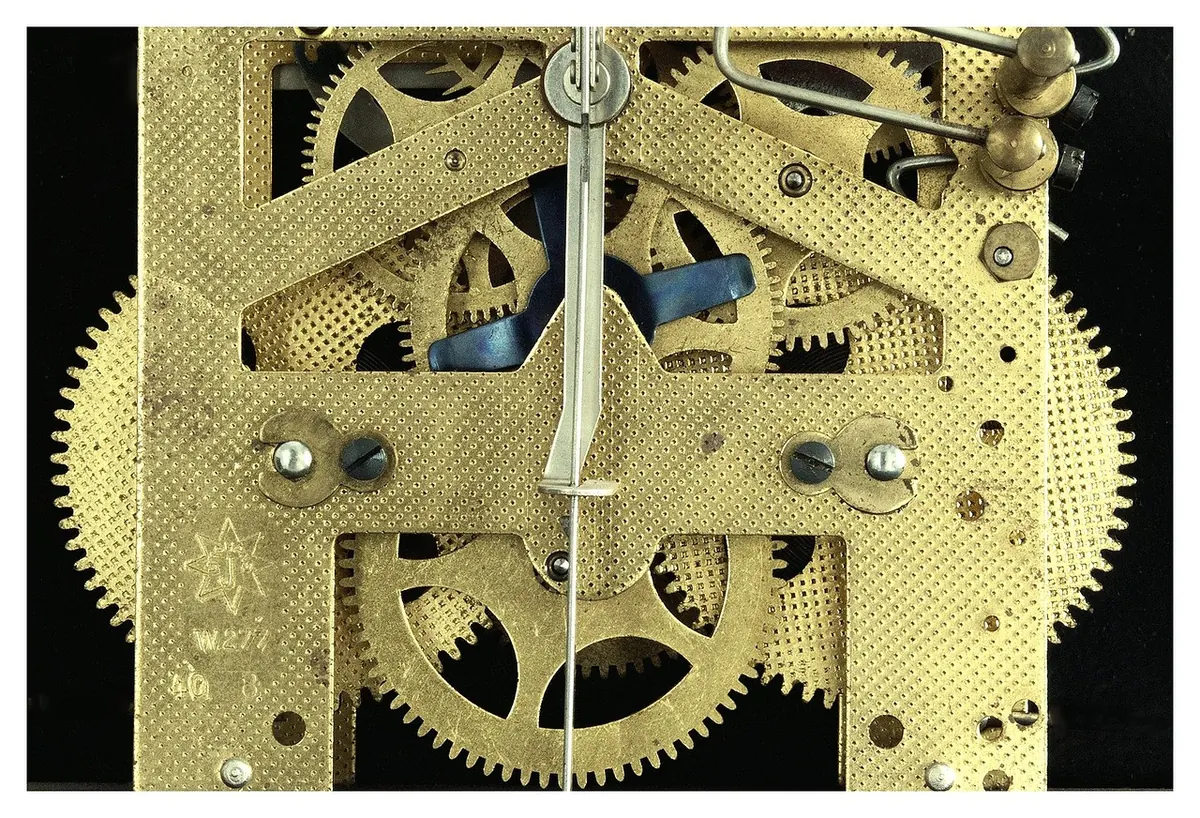
- Details: each arbor, wheel and pinion; every visible stamp, scratch, painted number or later repair.
Light is the whole game. Overhead light flattens cast iron; a torch held low and to one side will reveal wear ridges on a pivot, a hairline crack in a wheel and the ghost of an older paint scheme. Take important details twice, once flat and once raked.
Scale belongs inside the photograph, not only in the notebook. Place the rule or scale card in the same plane as the object, keep the camera square to the surface, and fill the frame. A photograph of a wheel tooth with no reference is decorative; the same photograph with a rule beside it is data.
Glass dials are the usual trap. Reflections of sky and photographer ruin the lettering, so shade the dial or shoot on an overcast day, and use a longer lens from further back rather than pressing close. Photograph the dial at a known reading — ten past three, say — and note it, so the hands can later be checked against the movement.
Measure What Matters, and Record How You Measured It
Measurement is where well-meant records fail. A number without a method is a guess with a decimal point. Write down what you measured against, whether the tape was taut, and whether any component was under load. Measure twice, and photograph the tape in place for each critical dimension.
On the dial side, useful figures include the overall dial diameter, the diameter of the chapter ring, the height of the numerals, the length of each hand from centre to tip, the diameter of the centre boss, and the height of the dial centre above ground or floor. Note the number of fixing points and the material of the dial plate.
On the movement, record the frame's external dimensions, the distance between arbor centres in both directions, the outside diameter of each wheel and pinion, and — most valuable of all — the tooth count of every wheel and the leaf count of every pinion. Tooth counts are slow to take but they survive restoration, and they let a later researcher reconstruct the gearing without dismantling anything.
Record the pendulum: total length from suspension to the centre of the bob, bob diameter and thickness, and material. Note the beat by counting escapement sounds against a stopwatch over a full minute; a one-second pendulum will give sixty. If the clock is stopped, say so, and note where the hands came to rest.
Note Condition as Evidence, Not Opinion
Describe what you see, not what you would do about it. "Rust bloom on the lower third of the frame, paint flaking along the joint" is a record. "Needs restoration" is an opinion that will look careless in twenty years.
Work systematically around the movement and note wear at pivots and pivot holes, cracked or repaired teeth, distorted arbors, loose screws, old repairs in different metals, and grease where it should not be. Look for water staining on the frame and droppings beneath it, and record the state of the clock room itself, since damp and birds cause more damage than most movements inflict on themselves.
Note later additions separately and clearly: electric winding, synchronisation contacts, slave dials, alarm switches. These are part of the clock's history, but a future conservator needs to know at a glance what is original and what arrived in 1958.
Turn the Notes Into an Archive
Do this the same evening, before memory edits itself. Create one folder with subfolders for exterior, interior, elevations, details and documents, and rename files to a plain scheme such as 2024-05-14_dial_east_01. Keep the originals untouched and make a second copy somewhere else.
Write a single summary sheet for the front: place, date, weather, people present, equipment, whether the clock was running, and one paragraph describing what was recorded. Follow it with a contents list of measurements, keyed to the photographs by number. Anyone opening that folder should understand it in five minutes without needing to call you.
A Record Someone Else Can Use
Before you switch off the torch, take three last photographs: the whole clock room from the door, the dial as seen from the street, and your notebook open at the page you have just filled. Then check that the tape is back in the bag, that nothing has been left resting on the frame, and that the clock is running exactly as you found it.
Twenty years from now, someone will climb that stair with a repair to plan. If your photographs are sharp, your measurements are labelled and your notes are honest about what you could not see, they will have everything they need.
Photo: GiadaGiagi / Pixabay